Lots of sewing
After a lengthy spinning and knitting period, I’m back into a sewing mood. I’ve been working out the kinks in the whole sewing-knit-fabrics-without-a-serger thing, and after several wears and washes of projects with no popped seams, I think I finally have it nailed down. The tricks I’ve learned so far:
- Always use a ballpoint or jersey needle when sewing knits.
- Always use a walking foot with knits. Actually, always use a walking foot for everything except, like, zippers and buttonholes, because a walking foot is freaking awesome.
- Use woolly nylon in the bobbin. This makes a HUGE difference, especially for seams that get a lot of abuse, like necklines that get jerked over a 3-year-old’s giant noggin. Woolly nylon is available by the cone at Amazon for pretty cheap, and it comes in lots of colors. Some people hand-wind it onto their bobbins to avoid stretching it, but ain’t nobody got time for that. I just skip my machine’s tension disk by sticking the woolly nylon cone on a knitting needle and then let the machine auto-wind the bobbin while I hold the cone on the knitting needle and pretend I’m the Statue of Liberty.
- Use your machine’s stretch stitch (looks like a modified zigzag or lightning bolt, or on my Bernina, like a mountain range) for sewing seams. Once you find this stitch, take several scraps of knit fabric and play with the length and width of the stitches, then stretch the living crap out of your samples and try to pop/break the stitches. Experiment until you find the stitch length/width combo that survives the most abuse. Then WRITE THOSE NUMBERS DOWN on some masking tape and stick the tape to your machine.
One thing I have not yet tried is using a twin ballpoint needle for hemming (it just arrived last week from Amazon; Joann doesn’t carry ballpoint twins, oy). My previous projects have either been finished with ribbing or I’ve used woolly nylon and a basic zigzag for the hems (which works fine, it just doesn’t look like a commercial hem). A twin needle fits into a regular sewing machine and gives similar results to a coverstitch machine, with two lines of straight stitching on the front and stretchy ziggy interlocked threads on the back. If you look at the commercial t-shirts you own, most will be hemmed this way. I’ll be trying the twin needle soon and will report back on how that works out.
If you’re still reading at this point, here are some pictures of recent projects.
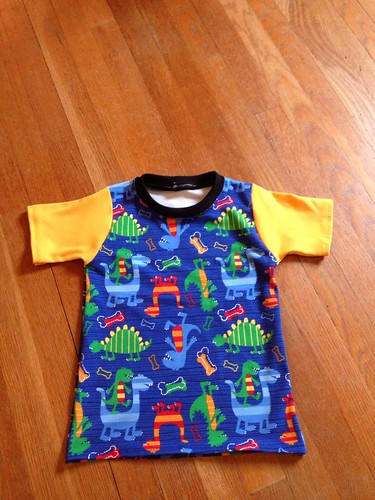
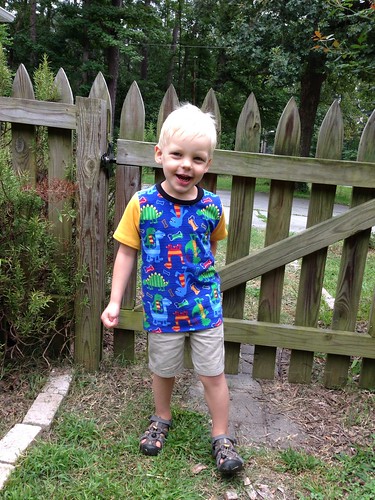
This was made from the Fishsticks Charlie Tee pattern. The dino fabric is Michael Miller cotton jersey from fabric.com (very nice quality), and the yellow fabric is from a shirt I thrifted specifically for the project and cut up. (The nice thing about Goodwill is that they sort their t-shirts by color, so it’s easy to shop for the colors you need). The black rib knit is from Joann’s. Joann’s has some nice basic cotton knits, but their color selection kind of sucks.
I am the luckiest woman in the world because Griff loves the knit shirts I sew for him. I am enjoying this while it lasts.
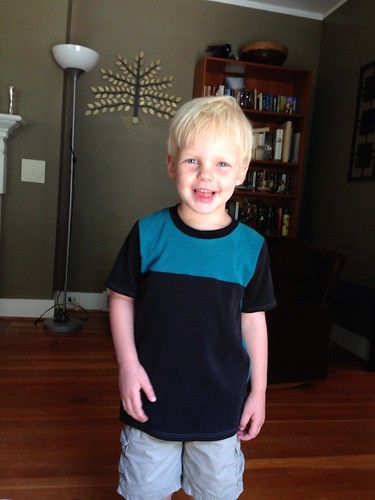
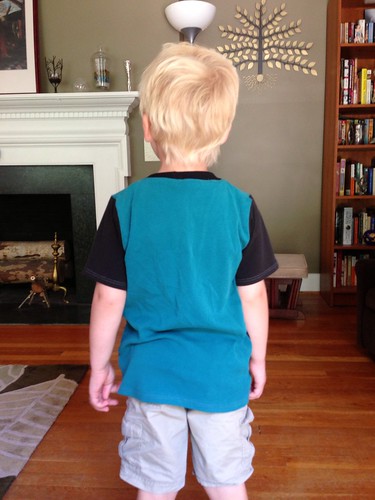
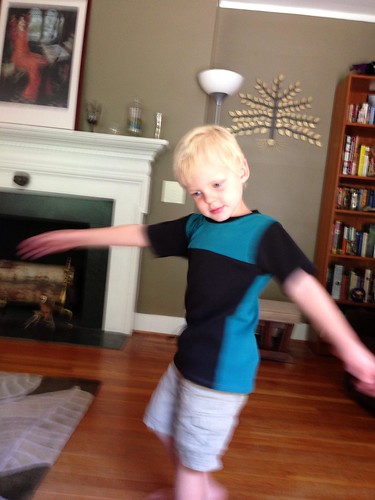
Here’s another shirt; this one I made from old discarded t-shirts of mine that I was planning to use for some craft project or other. I had to color-block because one of the old shirts had some staining, but it worked out well. Yay for recycling (and free fabric).
The front:
The back:
The sideways:
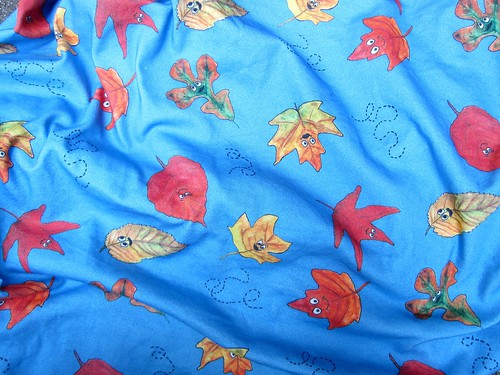
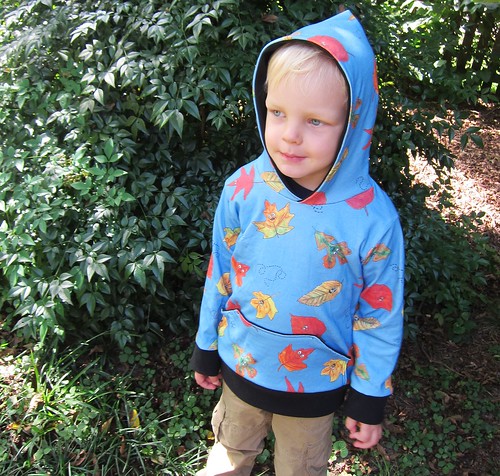
This next one is a very special project because it’s made from fabric I designed and had printed at Spoonflower. I used leaves from the yard as models, colored them with watercolor pencils, gave them a water wash, outlined/detailed with black ink, scanned the paintings, modified them in GIMP, and designed and uploaded the fabric image. I had a yard of the Spoonflower organic interlock knit printed and was totally thrilled with the results. The fabric is extremely soft and dense, and a good medium weight.
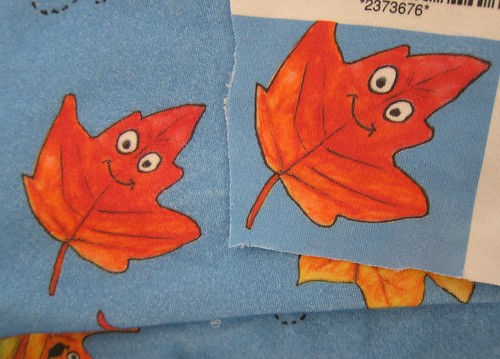
Spoonflower fabrics have a bad rep for fading in the wash because they’re basically printed with inkjet technology, not dyed. I washed the fabric before I cut it up, and I snipped off a sample to compare before and after.
As you can see, the background is faded/heathered after washing, kind of like denim. The leaf color is a little lighter, but not a huge amount. I like the heathering effect, but this is something to consider when ordering Spoonflower fabrics. Some of their fabrics seem more colorfast than others. There’s also a good amount of shrinkage, but no more than I would expect from a cotton knit (Spoonflower lists estimated shrinkage as 7% in length and 6% in width for this fabric).
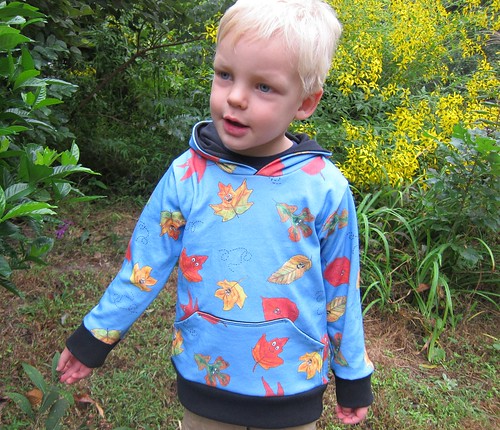
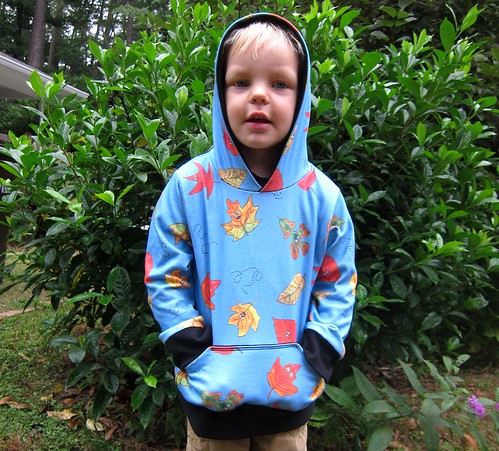
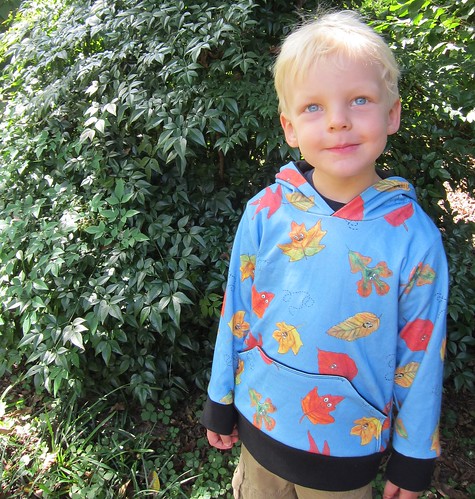
And here’s the finished product. This is the Charlie Tee again, using the hoodie pullover variation. I used black cotton interlock from Joann’s for the hood and pocket lining, and black cotton rib knit for the cuffs/waistband.
And with the hood:
And using the pocket:
And because I think my son is adorable:
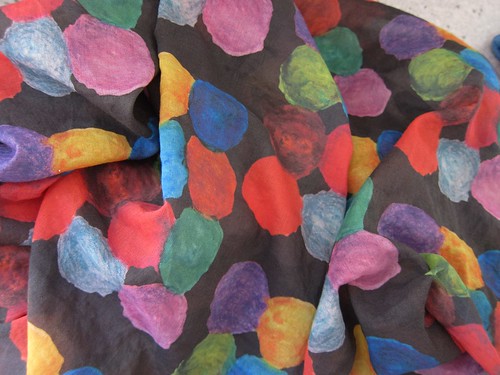
I also sewed a little something for me. This is another fabric I designed and had printed at Spoonflower, this time using their cotton voile. This was done with watercolor pencils again.
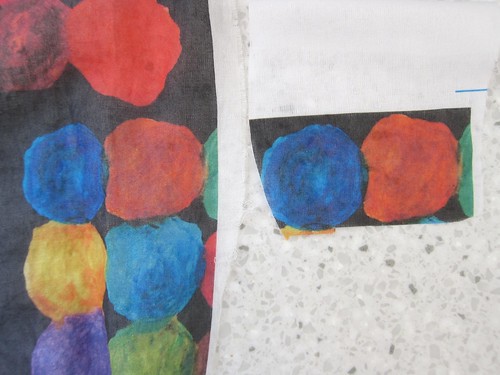
Here’s a before and after washing photo for this fabric. The voile is supposed to only be hand-washed or dry cleaned, but HAHAHAHA, NO. I threw it into the washer and dryer. A little fading, but again, not bad at all.
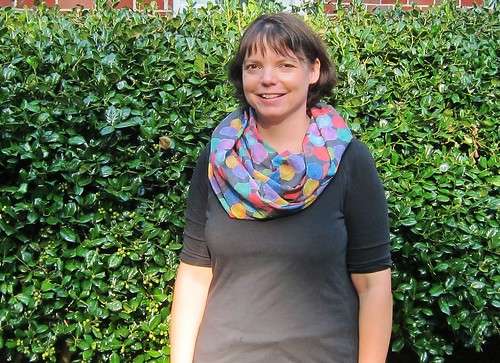
The voile is not as soft and drapey as I expected. It’s not exactly stiff, but it has a decent amount of body. So if you, say, make a scarf and want it to stand up a bit and stay fluffed up where you fluffed it, it’s a good choice. I think their silk might be a better choice if I do this again.
I used this infinity scarf tutorial to make a double-looped scarf. I modified it by making the strips 11″-12″ wide. To maximize the yardage, I cut three strips, then cut one in half and sewed those to the other two. You really can’t tell that it was pieced.
The End
